There has been a fair bit of development on the Stiletto RP before the addition of a Dev Log, so this first post will be the catch-up and cover what’s been done so far in general terms. I won’t be going TOO in-depth with things for the sake of brevity. Please note that I am not the only one working on this project, and this Dev Log is currently only from my perspective on the work. This may be subject to change, depending on if any of the other devs wish to add to the log, but I’m not going to force them to.
The Hull
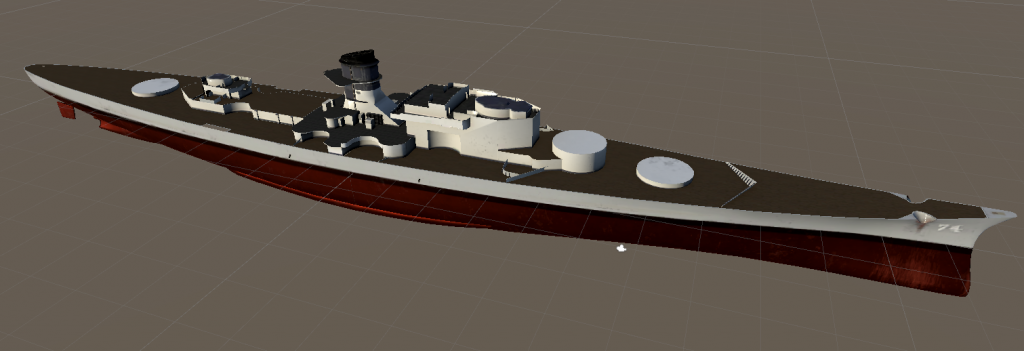
The very first part of this that I worked on was, of course, the outer hull. This is probably the only component model that’s still around 90% the World of Warships model with a new paint job in Substance.
The main chunk of time during this phase was parting out all the different components of the Scharnhorst model to see what we wanted to keep, what needed remodeling, and what needed to be scrapped entirely. It was here that I learned how jank the World of Warships model truly was, and ended up putting most of the stuff into that second bucket.
The Main Turrets
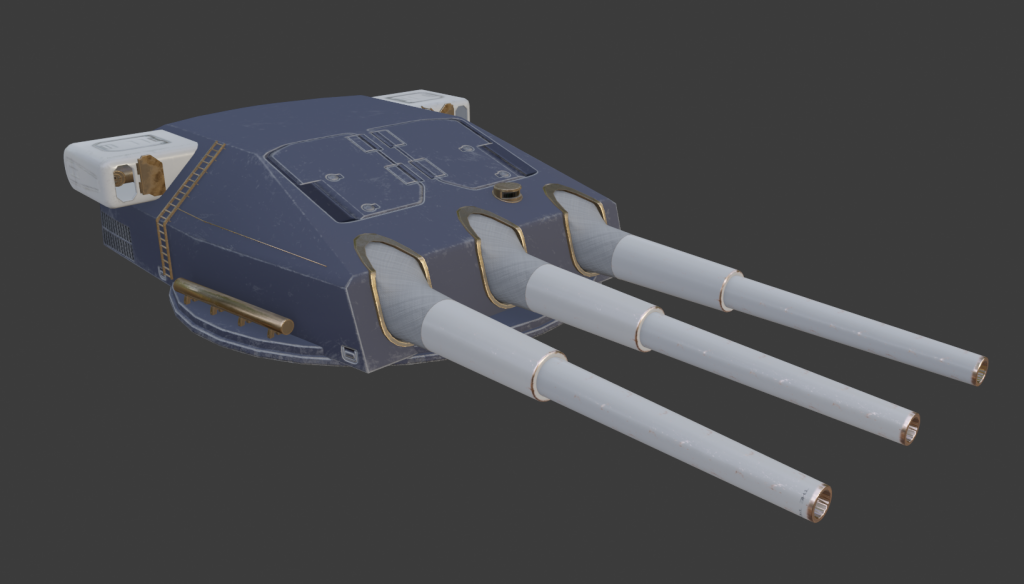
One of the first actual models I whipped up for the project was the main turret for the ship. There are three in total, but luckily we can just make a prefab and place it three times for all guns.
The first iteration had a decent-enough model, but in order to make the gun skirts work, I had to dip myself into the hellish world of Weight Painting, something that, at the time, I had little experience with. Because of this, the gun skirts kinda turned into horrendous spaghetti when attempting to pitch the cannons up, and only had about 10° of pitch before the barrels started to clip through.
It took some time to come back to, but after a lot of other model work and getting slowly better and better at Blender, I eventually did. The first main adjustment was to move the pivot bone for each barrel much further forward, which allows for the barrels to pitch much more correctly. This, combined with actual competent weight painting and a recreation of the gun skirt topology means the turrets can now pitch to 33° before clipping, which is close enough to the reference ship’s 40° max pitch that I don’t care.
The final bit to fix was the texture work. Mainly, it was that the gun used 3 materials, because I was shite at UV Mapping when I first painted the model. A UV remap and some repainting later, and we now have everything on 1 material with no degradation of quality (there was a LOT of wasted space on the old maps).
More noticeably to the viewer, I also redid the rifling on the barrels. Previously, I just painted a “spiral” using a bunch of height-mapped stripes directly onto the texture in Substance Painter. This left a rather stupid looking seam on the UV split, where none of the rifling lined up. After working on the Dragon Water model, I learned how to properly bake Normal Maps from high-poly geometry. So, I set about recreating actual rifling using a subdivided mesh, some tedious checker deselect faffery, deformations, and a twist; then I baked it all and imported the Normal Map into Substance to use for the final paint.
The Superstructure
I’m going to break chronological order here for the moment, as the stuff that happened between the hull and here is all smaller details stuff, which I’ll cover shortly. The superstructure bits were mostly kept intact from the original model, as they were pretty simple, blocky meshes. There was a fair bit of optimization, though, as a lot of the fore superstructure had weird seams for catwalks and stuff to mesh into.
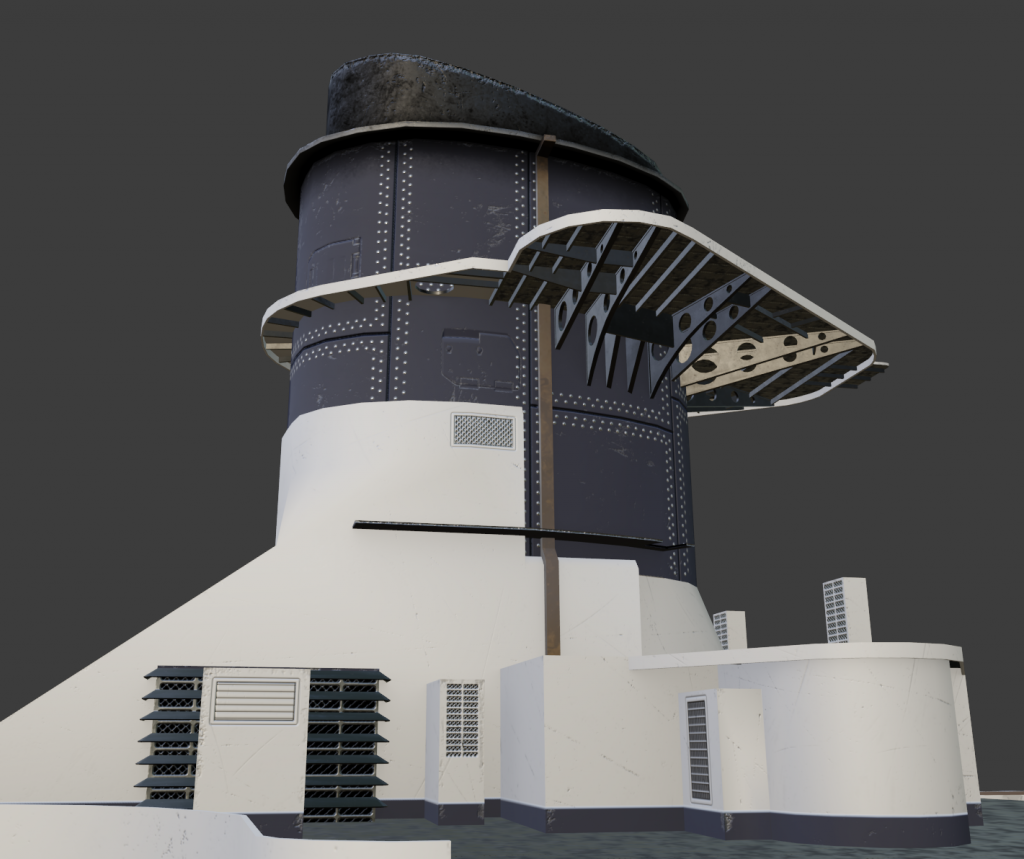
The main part I’m proud of here is the smoke stack in the midships region of the ship. The riveted panel-style paintwork is probably something I’m going to extend to the rest of the superstructure when we’re past the “blockout” phase of the map construction, but is super tedious to get Substance Painter to cooperate on since it doesn’t have properly working alignment tools (rabble rabble). Also, I went a little HAM with the Boolean modifiers to cut out weight-saving holes in the support struts underneath the watch post. I like the effect, but it’s not entirely efficient on the polycount. Shouldn’t be too much of an issue, though, since we’re on modern hardware for this project.
Unfortunately, I changed some geometry around here and had to reimport the mesh into Substance Painter, which wrecked the Substance layers for the smokestack. If I ever have to repaint anything over here, it’s going to be a bitch to fix, but for now it can sit as-is.
Props!
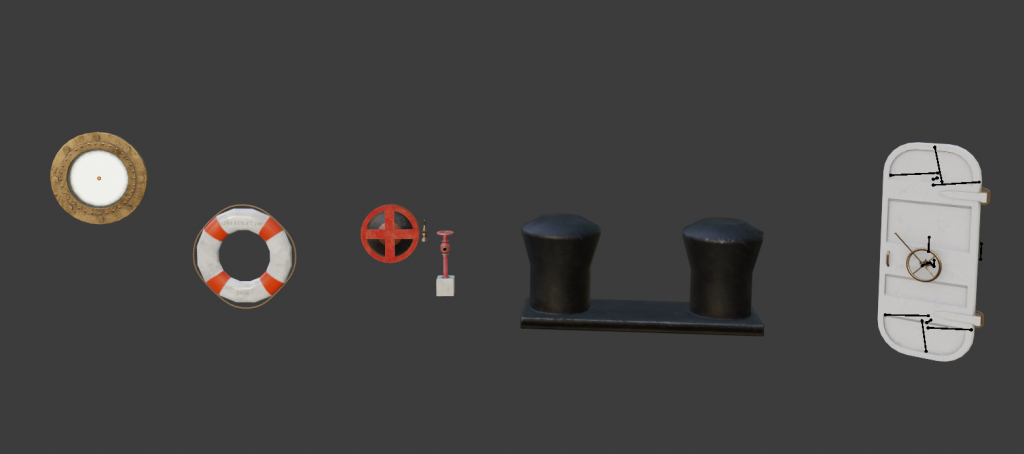
As can be seen in the picture, I made a few of the props needed to fill in for details and functionality on the deck. The most numerous one is the porthole, which is emissive from the front and transparent from the back, so we can have the ability to look out from an interior without much hassle. The Watertight Door can be seen here with its armature visible. This is because it is meant to be able to be opened by the player, rather than just being set dressing.
The mooring bollards, fire hose and pump, and the life rings are pretty much ready to go, but I’ve not imported them into the Unity map just yet. However, the portholes have been. This was all done in Blender first, so as to figure out what the alignment of the props needed to be. Then, I exported all of them to a dummy FBX, imported them into Unity, and then wrote a quick Editor script in C# to replace all the dummy instances with the proper Prefab for them. This will allow us to update one thing and have it duplicate across all the instances without having to re-export.
The Depth Pulse
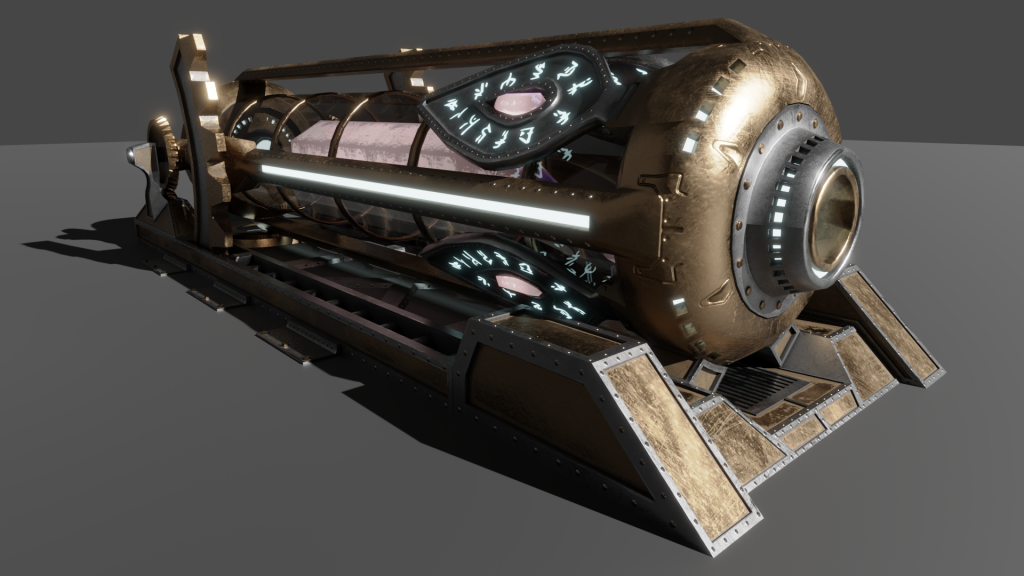
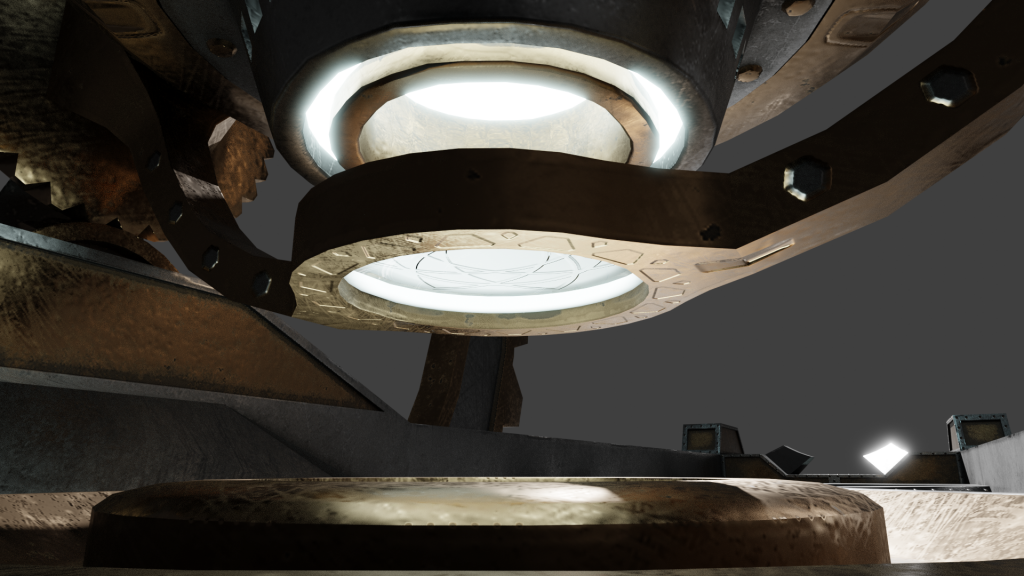
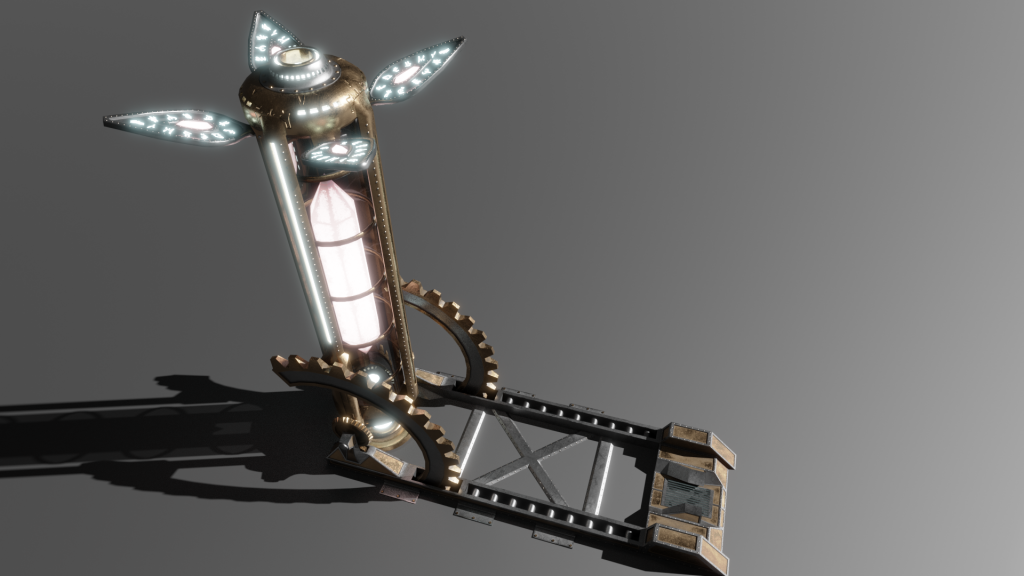
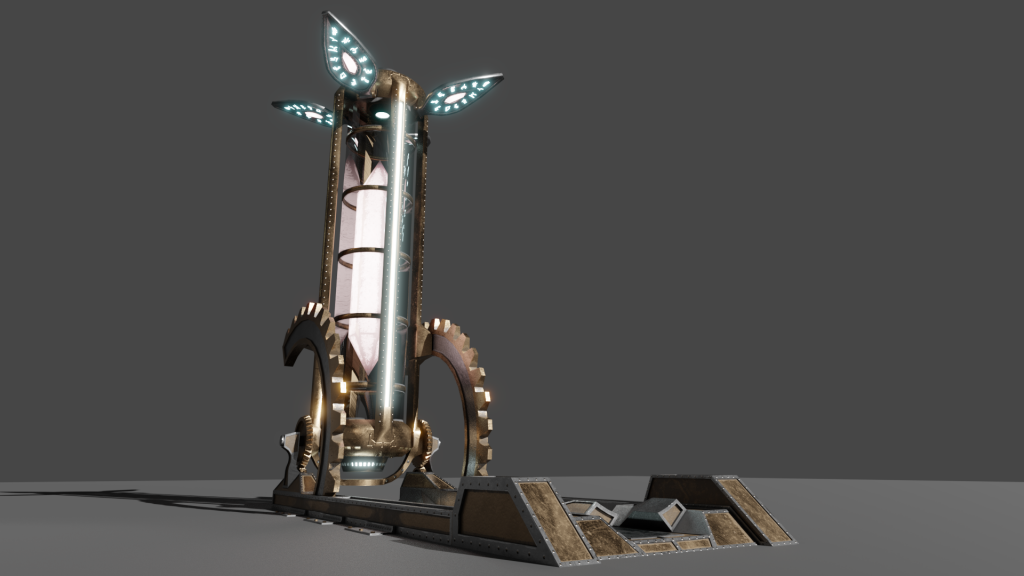
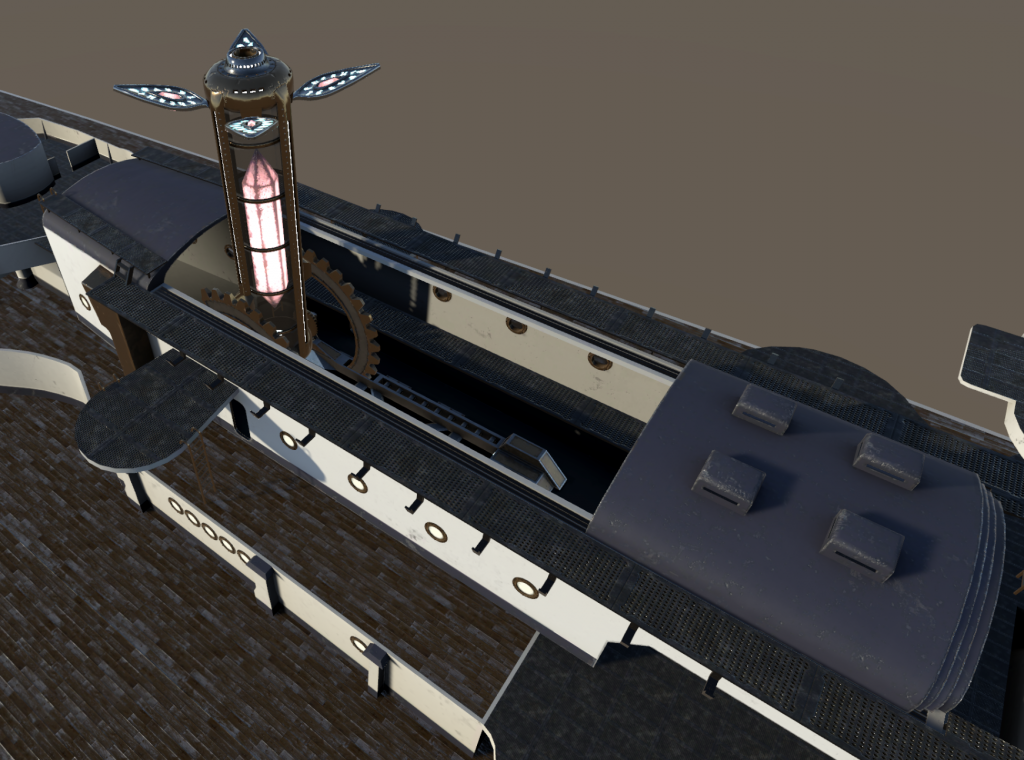
This here is the Stiletto’s secret weapon in its fight against the ever-aggressive Merfolk. For reasons of “I wanted to,” I rendered it out in Cycles for the beauty shots. This weapon deploys out of the Aft Housing along the superstructure (seen below), charges up, starts glowing and sparking and whatever else, and finally unleashes a massive pulse of energy out through the hull of the ship, essentially concussing every living ocean-borne organism below it.
This was probably my most abstract model in the project thus far. Looking more like something out of Myst than WW2, this thing was just sort of “designed until it looked right.” It was also a bitch and a half to UV map.
The interesting bit about this was actually the material, I think. Not that it’s particularly special, but that I learned quite a lot about what I can do in Unity. For one, all the crystal bits and the runes on the flappy leaf things are emissive, and I cooked up a shader in Shader Forge that would allow me to ramp up the emissive power through the use of Unity’s Animator. This, combined with a bloom postprocess, should allow for some really fun effects.
Plans
So the keen-eyed observer may notice that the Stiletto lacks a bridge, as well as most of its vertical profile. The bridge is the next bit of the superstructure I am planning to work on, and potentially one of the most annoying. As it stands, the Scharnhorst model’s bridge currently has about 18 inches of space between the central pillar and the forward wall. This is pretty much unacceptable for VRChat. The plan here is basically to strip out all the detailing from the existing bridge model and expand and extend the bridge interior to fill in the gaps.
Also, you may be able to see that there are no railings. Anywhere. The plan here is to make our own tileable railing model and use a plugin called EasyRoads3D to “draw” the railings back in wherever they are needed. This tool should allow us to draw a path for the railing to follow and it will automatically interpolate and tile the model.
Finally, stairs and ladders. We have no way of walking between deck levels just yet. The stairs that came with the WoWS model are exceptionally jank, and I plan to make my own version. However, every single stairwell seems to have its own dimensions and stair count, so it’s not going to be nearly as easy as a copypasta job. I’ll probably have to do something like make a bunch of stair “parts” and stitch them together, though I don’t like the extra draw calls that will entail…
As soon as these plans are done, we will have reached what we are calling the “Hype Demo” Milestone, wherein people can hop on board the WIP map and build interest for the RP. Still, though, there is going to be a lot of work to do in order to make this ready for actual use. Currently, BiteMe is working on greyboxing some interior spaces, so it will be interesting to see how we are able to connect the different “regions” of the map (exterior vs interior).


